Set a Sub-Zero freezer to 0°F (-18°C). That is where current Classic (CL) and Designer (DET, DEC) units come preset, and the control moves in one-degree steps anywhere between -5° and 5°F. Press the freezer zone’s Colder or Warmer key to change it, then keep the door closed and allow a full 24 hours before you decide whether the new number is working.
If the panel says 0° and the ice cream is still soft, remember that the display shows the target you chose, not a live measurement. The sections below cover how to close that gap.
The right numbers for each part of the unit
Zero degrees Fahrenheit is the long-standing storage target for frozen food. Going colder, toward -5°F, makes sense if you keep meat for months or the drawer is opened all day; running warmer gains nothing and shortens how long food keeps its texture.
The fresh-food side has a wider window. Classic (CL) and Designer (DET, DEC) refrigerators adjust from 34° to 42°F, while Classic (BI) and Designer (IT, IC, ID) models allow 34° to 45°F; both arrive set at 38°F (3°C). Sub-Zero’s position is that food held above 45°F is not safe, so the top of the wider range is a ceiling, never a goal. Designer Undercounter (DEU) freezer drawers use the same -5°F to 5°F span.
Older units with a numbered dial, such as the 500 Series, show no degrees at all. Sub-Zero suggests a dial position between 4 and 6, where 1 is the warmest point, and only a thermometer tells you what that means in your kitchen.
Why the reading drifts away from the setting
No freezer sits at one exact temperature. The compressor runs until the sensor is satisfied, shuts off, and lets the cabinet warm slightly before starting again, so any thermometer shows a small swing.
Defrost causes the bigger swing. Several times a day the control warms the evaporator coil to melt its frost, and the air near the coil rises noticeably for that stretch. A probe hanging in that air stream can make a healthy freezer look broken.
Everyday use adds the rest: a door left open while you unpack, a week of groceries loaded at room temperature, or a bag of ice wedged against the air outlet. On the First Coast, the sticky summer air that rushes in with every opening freezes onto the coil, so frost builds faster here than in a dry climate.
Two features change how the unit behaves without anything being wrong. Max ice lifts ice output by up to 30% for 24 hours, and some parts run faster and sound different meanwhile. Sabbath Mode keeps the lights on dimly with the door shut, switches off the ice maker and the door alarm, and cancels itself after 74 hours.
How to check the real temperature with a thermometer
You need one night and an appliance thermometer that reads below zero.
- Slide the thermometer between two frozen packages near the middle of the freezer, away from the door shelves, the back wall and the air outlet.
- Close the door and leave everything alone overnight.
- Open the door and read the dial within a few seconds, before warm room air reaches the probe.
- Treat a reading within a couple of degrees of the setting as normal. If it is consistently warmer, lower the setting by one degree, wait 24 hours and measure again.
- For the refrigerator side, stand the thermometer in a glass of water on a middle shelf, because water tracks food temperature better than air does.
If two or three rounds still leave the freezer well above 0°F, stop adjusting. The coldest setting cannot make a weak system stronger.
Display messages that look like a fault
Some worrying symptoms turn out to be a control setting. On current Classic and Designer units, a panel showing 38° and 0° while the cabinet is plainly warm may be in Showroom Mode, the demonstration state used on sales floors, and Sub-Zero asks owners in that situation to phone its customer care line. On a Classic (BI) the same state reads Sh r, and the unit will not cool. To leave it, switch the unit off with Power, hold one Warmer and Colder key pair, press Power, then let go of all three keys.
Two dashes where the freezer number should be on a Classic (BI) display mean that zone has been switched off. Press Power to turn the unit off, then hold the freezer’s Warmer key while pressing Power again to bring the zone back.
A Classic (BI) that keeps chiming can be quieted by pressing ALARM and POWER together and releasing both in under 5 seconds. That hides the warning for 24 hours and repairs nothing, so use the quiet day to check the temperature and arrange a visit if the reading is high.
When the freezer will not hold its temperature
First rule out the simple things. Make sure the door closes on its own and the gasket seals evenly all the way round; a torn seal usually shows up as frost along one edge. Check that nothing inside blocks the vents and that the condenser grille is not matted with dust or pet hair.
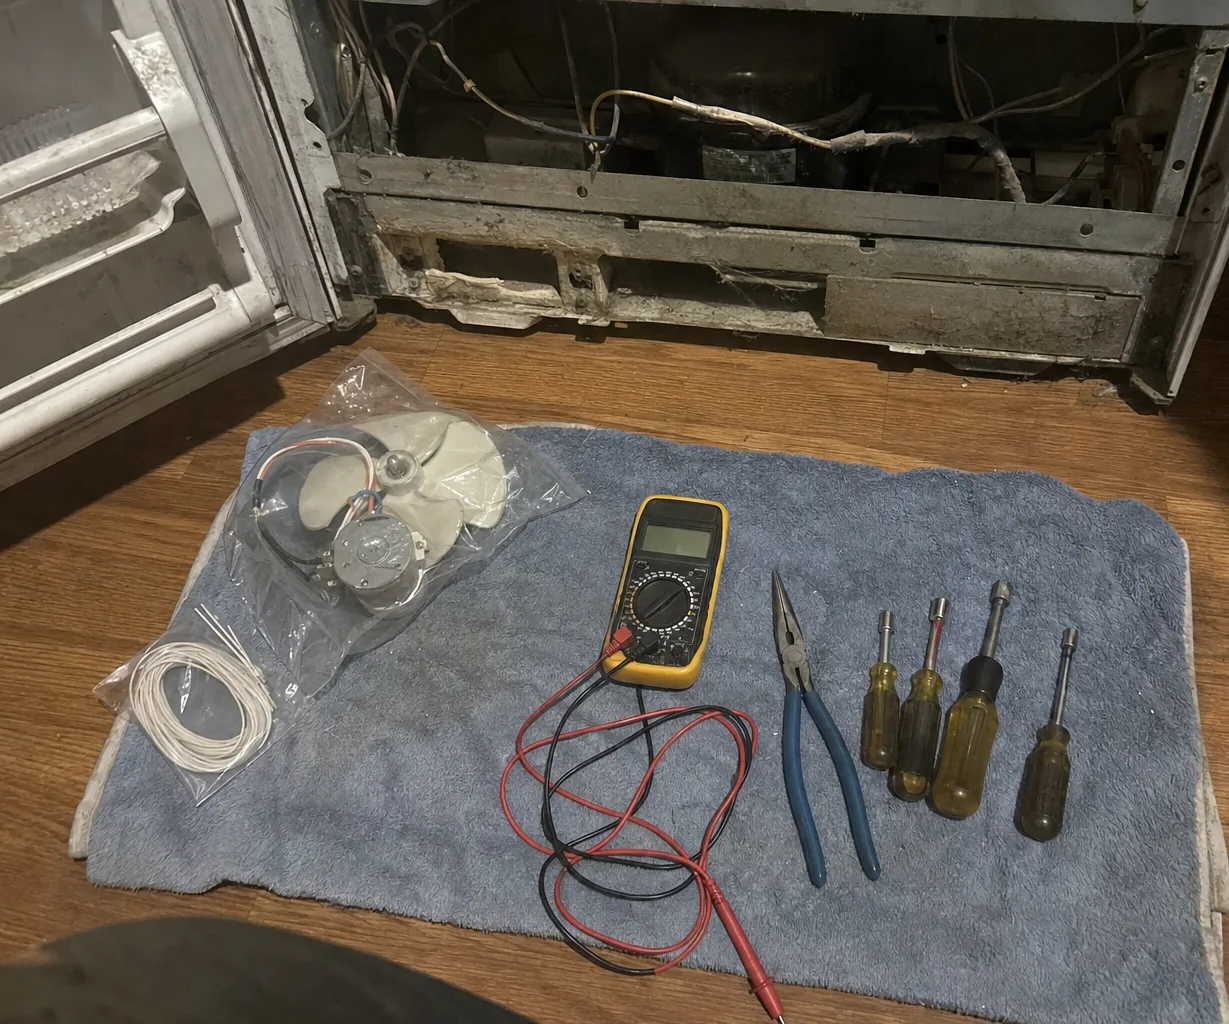
If those look fine and the freezer still runs warm, the cause is usually one of a few parts. Thick frost on the rear panel points to the defrost heater, its thermostat or a sensor. A cabinet that warms while the compressor hums points to the evaporator or condenser fan motor. A unit that runs nonstop and never gets cold may have a compressor or sealed-system fault. Our built-in refrigeration repair page explains how those visits work.
Diagnosis is $80, and the firm price follows once the fault is found. As a typical range, a defrost heater, thermostat or sensor runs $240–$640, a fan motor $250–$580 and a door gasket $230–$620. Compressor or sealed-system work typically falls between $930–$2,490, which is worth weighing against a replacement unit at $8,600–$19,400.
While you wait, keep the doors closed. Sub-Zero notes that an empty unit usually takes about 3 hours to climb above 45°F (7°C) in the refrigerator section and 20°F (-6°C) in the freezer, and a well-stocked freezer holds its cold longer than a bare one.